
Sunday, 9 April 2017

Wednesday, 22 March 2017
Creepy Clown: Start of some ideas
Having not done very much makeup recently, I decided to go into this look without a set plan which is always a mistake I find. However there are a couple of interesting parts to it which I may develop.


The main problem is adding too many elements which fight against each other and it creates a confusing final result. But it's still kinda creepy.


Sunday, 30 October 2016
Slit Throat
This one was quite quick, involving building a few layers of liquid latex, pouring a thicker line in the middle and resting a greased up crochet needle in the middle. Then I bulked it up with dried pieces of latex from a previous failed attempt and sealed with a few more layers. I didn't want to use tissue or cotton as I think it's harder to paint to look like skin. Note to self: applied to perspex dish which is lightly greased with vaseline and latex peels off a treat, just need to apply talc as you go to stop it sticking.
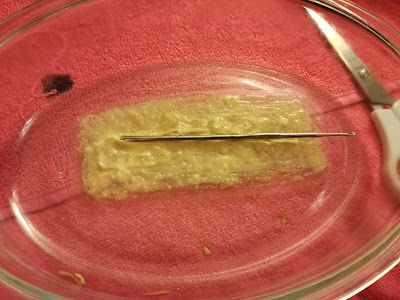


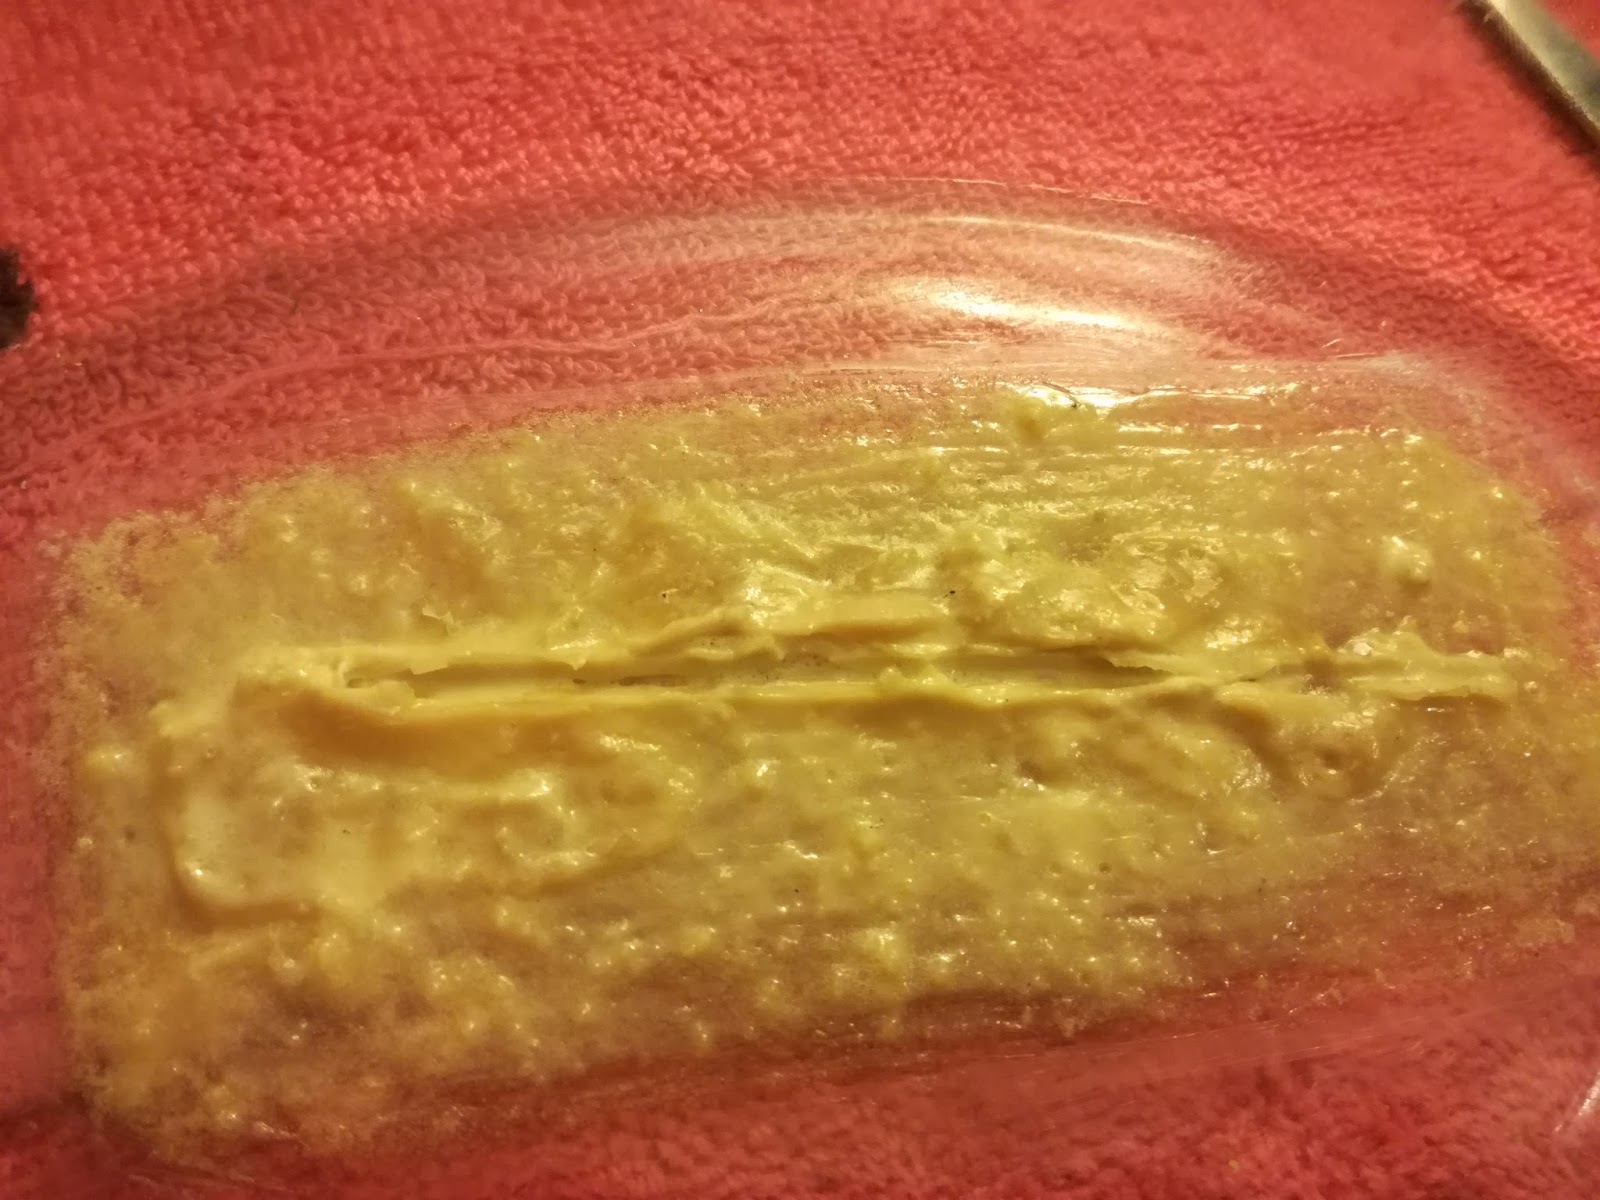


Fake blood went a bit overboard but the overall effect was quite funny.


Happy Halloween!
Wednesday, 5 October 2016


Friday, 1 July 2016
Stitches
Another grossish one.


For the stitches I took a long piece of black thread, tying it in many knots to form a ling line of knots. I had to anchor the thread around a pen so that the knots would go to the same place. Then i snipped them into stitches lengths, used tweezers to dip them in spirit gum and to place over the cut. All that was left was to add more bruising around the cut and of course some fake blood.


For anyone interested in how I did this: I put down a layer of spirit gum onto my forehead, let it partially dry. Then arranged wax into a long sausage shape (I had to roll it in sections because it melts really quickly on your hands and when it touches the skin). I spread out the edges into my skin, using a wee bit of moisturiser at the end to smooth everything, leaving a long thin mound.
I made the "cut" through the center of the wax using the edge of a pair of tweezers. After that I gently applied foundation, powder, grease paint in the cut, more powder.For the stitches I took a long piece of black thread, tying it in many knots to form a ling line of knots. I had to anchor the thread around a pen so that the knots would go to the same place. Then i snipped them into stitches lengths, used tweezers to dip them in spirit gum and to place over the cut. All that was left was to add more bruising around the cut and of course some fake blood.
Drag King
This look was tricky. I went in too heavy with the makeup to start with and then covered up with fake stubble (using disposable mascara wand).


Monday, 8 February 2016
Wounds practice
Once again, my lovely assistant Deebs kindly offered to help me practice my bruising, cuts and bullet hole wound.


I could have made the bullet hole deeper, but didn't want to put Deebs through more layers of latex and it was really just a test to see if the method worked. In case anyone wants to know how I did it, I dabbed a layer of liquid latex on the forehead, stuck on a ripped oval shape of tissue and applied another layer of latex on the top. Repeated several times, allowing each layer to dry in between and trying not to layer exactly in the same place to keep the edges thin. Then powdered and used tweezers to (carefully) puncture the middle and eased it open with the round end of a brush to give it its round shape. The rest was grease paint, water based pancake and fake blood.


Tuesday, 10 November 2015
Ecstatic Glymphatic by Sahra Bhimji
A while ago I did makeup for a brilliant short film by Sahra Bhimji called "Ecstatic Glymphatic" which is now available to the public to view online: https://vimeo.com/108034542
There are also some behind the scenes photos at: http://www.sahrabhimji.com/ecstatic
There are also some behind the scenes photos at: http://www.sahrabhimji.com/ecstatic
Saturday, 31 October 2015
Old Man Experimental Makeup
I had another crack at aging makeup using a few different techniques in the one look.
Things that didn't work:
Latex-coated layers of tissue (This was too lumpy and a difficult texture to work with).
Scar wax (although I did set it with powder and then a layer of latex, it still was too melty. Also hard to apply as contact with skin melts it easily).
Things that did work:
Adding a layer of latex to cheek, stretching skin while it dries (used a hairdryer on cool setting) then when you let go it creates a wrinkled effect. Worked best after a few layers.
Adding blue veins around temples.

As you can see below it's quite a crusty look due to the tissue, I liked the wrinkle effect on the cheeks though.


Les Ballets Trockadero de Monte Carlo Makeup Seminar Notes
A few notes about the excellent makeup seminar I attended with a member of Les Ballets Trockadero, Robert Carter, who kindly invited us to watch him put on his makeup in the dressing room at the Festival Theatre.
These are the steps he took but he made it clear everyone has different preferences and different face shapes, so instead of copying each other, the Trocks work out their own style and shapes to suit their own faces. The dancer we met has done his own makeup for decades and said he uses different colours and different combinations ever night, and has probably never done the exact same makeup twice!
He then put on a hairband and the wig, which he makes a pony tail (Russian style - over the ears) with and twists two strands, pinning them into a bun. He adds a hair net over the bun and then pins on his hair piece. He also got his full costume on for us - sparkly white bodice/tutu, tights and ballet shoes.
I hope I've remember everything! There is a photo gallery and more info about Mr Carter on the Trockadero website (if you'd like to see the results of the makeup!) http://trockadero.org/dancers/robert-carter/
These are the steps he took but he made it clear everyone has different preferences and different face shapes, so instead of copying each other, the Trocks work out their own style and shapes to suit their own faces. The dancer we met has done his own makeup for decades and said he uses different colours and different combinations ever night, and has probably never done the exact same makeup twice!
- Block out eyebrows.
- He used a sponge for each of the base colours. Base colour - start on eyebrows and work outwards. You can build up layers or add more in places if necessary to even out skin. Primer is not necessarily needed. Lighter tone base - he put this on top of cheekbones sweeping upwards, in middle of forehead, a thin line down his nose to make it look thinner and under the nose/above top lip. Darker tone - he created a jawline above his natural jaw, a line just under cheekbones - on either side of nose and either side of forehead (basically added a darker line under or around the lighter lines for contouring). This gave an impression of a feminine shape and really changed the way his face looked. Base tones blended using a damp sponge. Then added dark powder over dark areas and light powder over light areas.
- Eyebrows: the outline was drawn just above natural brow and then filled in (remember eyebrows are sisters not twins)
- He did apply some primer onto his eyes before adding a very bright eye cream colour. He said he normally adds the bright colour first before contouring with the darker colour. A dark powder was used for contouring the eyes, working just above natural crease and under the eye sweeping out and up at the outer sides for a more cat-like look. It starts as quite a harsh line but he blends it to make it look like the natural crease of the eye. He used a liquid liner above top lashes, flicking out as well. Puts on mascara.
- Leaving the liquid liner to set, he added blusher and then a very light powder under the eyes/on cheekbones and eyebrows to highlight. For the lips he used a burgundy lip liner first, extending to the very corners of the lips. he then used a lovely bright pink colour as well as a light concealer in the centre of the lips making them look fuller and giving the colour a gradient. He says the lipstick does last the whole show so he doesn't need to prime or set with powder.
- Lastly the lashes go on - always wait 30-40 secs for glue to become tacky before you apply. It can be helpful to hold them with tweezers. He also said that during the show he just needs to blot between scenes sometimes, but hardly has to reapply.
He then put on a hairband and the wig, which he makes a pony tail (Russian style - over the ears) with and twists two strands, pinning them into a bun. He adds a hair net over the bun and then pins on his hair piece. He also got his full costume on for us - sparkly white bodice/tutu, tights and ballet shoes.
I hope I've remember everything! There is a photo gallery and more info about Mr Carter on the Trockadero website (if you'd like to see the results of the makeup!) http://trockadero.org/dancers/robert-carter/
Wednesday, 2 September 2015
Shirt pattern camouflage
Many of the looks I've been seeing online recently have been pop-art style, or even pixelated, flattening the face to make it look 2D. This has inspired me to create a 2D camouflage effect, using Deebs as my model. As he owns a lot of bright and interesting shirts I thought I'd try and blend him into one!
I started by testing on myself, which didn't go too well - I tried drawing a grid on my face which would look straight if you were directly facing me, but I don't think I was neat enough to pull it off. Anyway, this one on Deebs isn't neat either, but the pattern doesn't depend on straight lines too much (luckily for me).


I started by testing on myself, which didn't go too well - I tried drawing a grid on my face which would look straight if you were directly facing me, but I don't think I was neat enough to pull it off. Anyway, this one on Deebs isn't neat either, but the pattern doesn't depend on straight lines too much (luckily for me).


Friday, 3 July 2015
Elsa Rhae inspired monster
This was partly inspired by the wrestler Fergal Devitt/Prince Devitt/Finn Balor, but the main inspiration was Youtube blogger Elsa Rhae, a talented makeup artist/illusionist. I watched her arachnophobia tutorial and then got to it! Was hard not to just copy what she did as hers is so good - I could add more of my style in time. Check out her stuff at www.youtube.com/user/ElsaRhae


Sunday, 19 April 2015
Skeleton


For this look I used face paint, eye shadow with water, grease paint and powder. It looked better once I went over the black grease paint with greys and browns to soften it up and make it look aged. This is partly inspired by the makeup from TV series American Horror Story, but I really just ad-libbed from my memory of drawing skulls in art lessons back in school.
Thanks again to Deebs for modelling for me.
Thursday, 8 January 2015
The Ballad of Queen Victoria Music Video
Following on from a previous post, here is the final result of a music video I volunteered on in the summer. I present to you, Elyssa Vulpes and the Betes Noires with"The Balled of Queen Victoria":
I mainly worked on the ghost character who shows up towards the end, the Madame who appears from the brothel scene onwards, and did bits and pieces of makeup on the other actors. We had a limited amount of time in the studio, so a few others pitched in with the simpler makeup.
I mainly worked on the ghost character who shows up towards the end, the Madame who appears from the brothel scene onwards, and did bits and pieces of makeup on the other actors. We had a limited amount of time in the studio, so a few others pitched in with the simpler makeup.
Sunday, 28 December 2014
Nanageddon
For anyone familiar with the British comedy program "The Mighty Boosh", or anyone that has the Mighty Book of Boosh (which came after the series), this make up is inspired by "Nanageddon" an episode of the Mighty Boosh and also a character which is depicted in the book. She is a demon granny who, when summoned, tries to gather other elderly ladies to take over the world. Sketch below can be found in the Mighty Book of Boosh: http://www.amazon.co.uk/Mighty-Book-Boosh-Julian-Barratt/dp/1847673228


.jpg)

The book is written and illustrated by Julien Barratt, Noel Fielding and Dave Brown.
What specifically drew me to the drawing was the mask-like face and the jumbling together of different colours. The mighty boosh has always been a favourite TV program of mine due to its fantastical costumes and makeup, and also its surreal humour.
Painting my eyelids was tricky so the white pupils were more of a smudge.
Because it's so fantastical and painterly I used my fingers as well as brushes, and also an array of materials such as grease paint, kohl and liquid liners and eye shadows.
Thursday, 25 September 2014
"Reverse" - 48Hour Film Project May 2014
We had 48 hours to create a short film in the genre of "film de femme" and had to include the line "it was in the papers this morning", a character called "James", a psychotherapist, and a tape measure.
I was part of a team called "you can't have a polar bear" and my role was to make a fake cut, which you can briefly sorta see at 3 min 40!
Director - Chris Kelly
Photography - Fiona Rix
Sound - Charlotte Aitken
Music - Luci Holland
Make-up - Miriam Wilson
"James" - Alex Donald
"Rachael" - Sarah Ford
"Nancy" - Liz Strange
Some of the team:

I was part of a team called "you can't have a polar bear" and my role was to make a fake cut, which you can briefly sorta see at 3 min 40!
Director - Chris Kelly
Photography - Fiona Rix
Sound - Charlotte Aitken
Music - Luci Holland
Make-up - Miriam Wilson
"James" - Alex Donald
"Rachael" - Sarah Ford
"Nancy" - Liz Strange
Some of the team:


Monday, 22 September 2014
Full Glasgow Grin
This is a little more OTT than the half glasgow smile before.
If you ever want to see me in an EXTREMELY ATTRACTIVE light, please look no further.
First without any fake blood (Most of these are without flash as the flash on my camera makes the red grease paint look too bright and the fake blood pops out even more later on)


If you ever want to see me in an EXTREMELY ATTRACTIVE light, please look no further.
First without any fake blood (Most of these are without flash as the flash on my camera makes the red grease paint look too bright and the fake blood pops out even more later on)
Again I used a similar method to last time, although I struggled more with the scarwax this time as it seemed to melt rather awkwardly. I also used a bit of black and purple shadow around the eyes.
Now here are a few pics after the fake blood was added. WARNING these get sexier and sexier as you scroll down.
All set for Halloween. Or if I need to blend in with a gang of particularly violent zombies.
Subscribe to:
Posts (Atom)