Labels

Showing posts with label Prosthetics. Show all posts

Sunday, 30 October 2016

Slit Throat

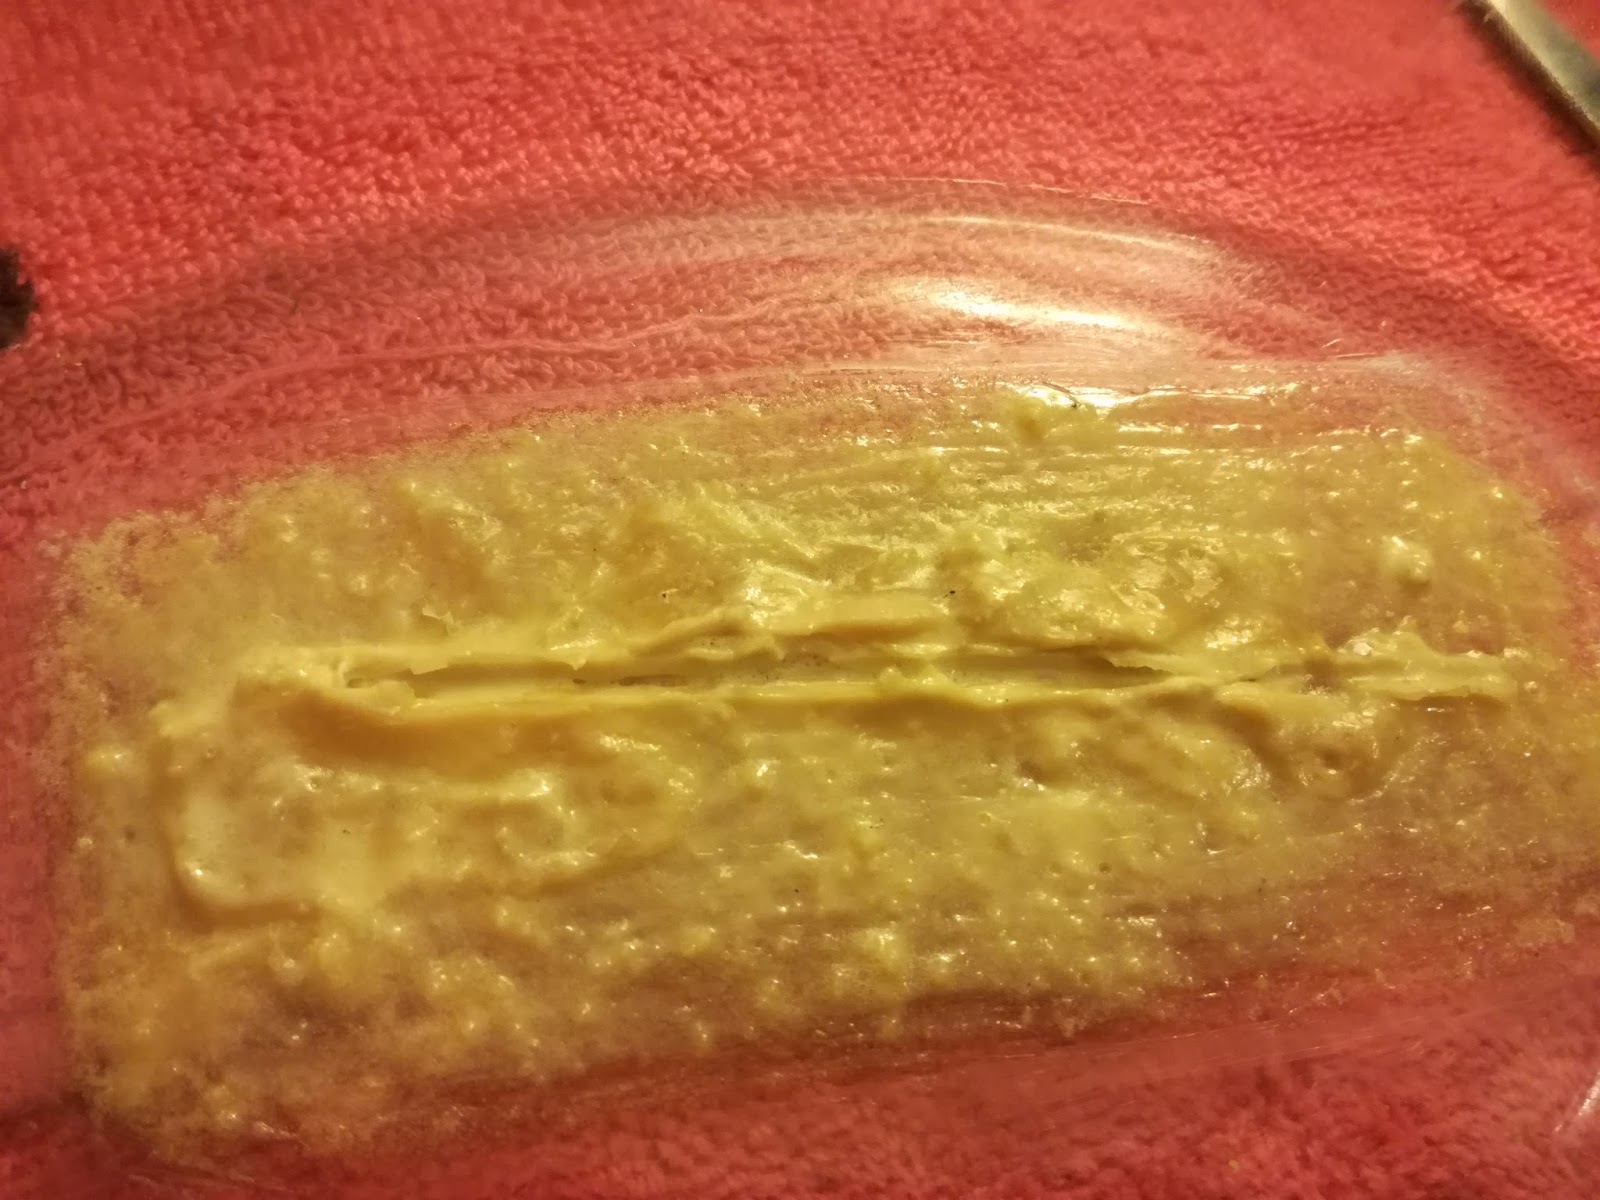
This one was quite quick, involving building a few layers of liquid latex, pouring a thicker line in the middle and resting a greased up crochet needle in the middle. Then I bulked it up with dried pieces of latex from a previous failed attempt and sealed with a few more layers. I didn't want to use tissue or cotton as I think it's harder to paint to look like skin. Note to self: applied to perspex dish which is lightly greased with vaseline and latex peels off a treat, just need to apply talc as you go to stop it sticking.


Fake blood went a bit overboard but the overall effect was quite funny.


Happy Halloween!

Friday, 1 July 2016

Stitches

Another grossish one.


For anyone interested in how I did this: I put down a layer of spirit gum onto my forehead, let it partially dry. Then arranged wax into a long sausage shape (I had to roll it in sections because it melts really quickly on your hands and when it touches the skin). I spread out the edges into my skin, using a wee bit of moisturiser at the end to smooth everything, leaving a long thin mound.

I made the "cut" through the center of the wax using the edge of a pair of tweezers. After that I gently applied foundation, powder, grease paint in the cut, more powder.

For the stitches I took a long piece of black thread, tying it in many knots to form a ling line of knots. I had to anchor the thread around a pen so that the knots would go to the same place. Then i snipped them into stitches lengths, used tweezers to dip them in spirit gum and to place over the cut. All that was left was to add more bruising around the cut and of course some fake blood.


Monday, 8 February 2016

Wounds practice

Once again, my lovely assistant Deebs kindly offered to help me practice my bruising, cuts and bullet hole wound.


I could have made the bullet hole deeper, but didn't want to put Deebs through more layers of latex and it was really just a test to see if the method worked. In case anyone wants to know how I did it, I dabbed a layer of liquid latex on the forehead, stuck on a ripped oval shape of tissue and applied another layer of latex on the top. Repeated several times, allowing each layer to dry in between and trying not to layer exactly in the same place to keep the edges thin. Then powdered and used tweezers to (carefully) puncture the middle and eased it open with the round end of a brush to give it its round shape. The rest was grease paint, water based pancake and fake blood.


Monday, 22 September 2014

Full Glasgow Grin

This is a little more OTT than the half glasgow smile before.

If you ever want to see me in an EXTREMELY ATTRACTIVE light, please look no further.

First without any fake blood (Most of these are without flash as the flash on my camera makes the red grease paint look too bright and the fake blood pops out even more later on)


Again I used a similar method to last time, although I struggled more with the scarwax this time as it seemed to melt rather awkwardly. I also used a bit of black and purple shadow around the eyes.


Now here are a few pics after the fake blood was added. WARNING these get sexier and sexier as you scroll down.


 All set for Halloween. Or if I need to blend in with a gang of particularly violent zombies.


Clay Beginnings

I decided to invest in some air drying clay to help make prosthetics. It was nice to work with a different material and I decided to do something a bit "monstrous". I was going for werewolf but it ended up being slightly pig-like. 


 Once this had dried I added about 8-10 layers of latex. However once I peeled this off I realised it was still too thin and lacked texture.


Here are a few things I've learned recently:

A more effective way to make facial prosthetics is to 1. create a life cast using alginate, cover in mod roc + removed then filled with plaster 2. once set either apply latex layers directly on to cast OR build up clay for a more structural feature along with adding wrinkles and skin texture if desired, then 3. take cast of the whole thing after rubbing with anti-mold or oil and finally 4. pour in a good layer of latex, thinning out at the edges to improve appearance when removed and applied.

I have gathered small pieces of information online from various articles, websites and "how-to" videos. I yet have put any of this in practice...

I have also watched a couple of wig-making tutorials which look fun but I will try that the day I get enough money to buy all those fancy hooks and batches of hair!


Thursday, 7 August 2014

Latex & Sponge Nose

Following on from my previous post, I decided to explore the use of sponge & latex to add bulk.

I found it took a while for the sponge to become tacky enough to stick, and to be moulded. Once it did, it was quite effective, although perhaps not suitable for creating a smooth natural skin surface, particularly as the layers created a lot of bumps and ridges.


 I constructed the nose using about 20 thin layers of sponge, cut into different shapes according to where they were being placed, and moistened with latex. I added a couple of extra layers of latex on top to seal the  outer sponge holes. If I had constructed the nose a little more neatly I think the result could have been smoother but this would do for a monster or witchy-type look. I added a little colour using a liquid foundation but I'm sure I could find paint more suitable for latex - will look that up.

All in all, the best solution is probably to create pieces out of silicone set in a mould to make a precise and realistic shape. But as I do not have the materials or space, I will do what I can with my sponge dipped in latex!


Saturday, 19 July 2014

Fish lady; latex-tures


Having failed to master a successful latex application, I decided it was time to experiment using a variety of materials in order to find what works best for me.


In truth I didn't have a set plan except trying out materials so what was initially going to just be a "tired baggy eye" look, turned into some sort of sea monster. But I just went with it anyway.


Materials from top to bottom:


  • newsprint paper - hard to add bulk without ridges showing
  • embroidery thread - could be useful for veins/ detail
  • cotton wool - hard to work with, impossible to get smooth or to apply makeup to after
  • more embroidery thread 


  • upholstery sponge - very promising, I just need to figure out how to seal off holes properly (spirit gum?)


  • crepe paper - texture ok, hard to stick down properly, and very fragile/tears easily
  • thick acrylic wool - not a bad material, although texture is quite specific
  • bubble wrap - hard to disguise edges but a fun texture to work with


I always underestimate the pain of peeling latex off after it's stuck to your hair. I saw a tutorial online which suggested to coat the underlying hairs with spirit gum, and then scar wax once dry. Will try that next time.


Now for the sea lady look. The textures reminded me of some sort of sea creature so I just went along with it, even though it's usually better for me to have a plan first.


Brought to my mind a very fishy episode in the series Mighty Boosh called "old gregg" .


Note to self: sponge is great to work with, especially as you can mould it when the latex becomes tacky. The idea came to me after watching a Rick Baker tutorial where he used sheets of poly foam, which I imagined to have spongy qualities.


Sunday, 6 July 2014

Half Glasgow Smile

I particularly enjoyed creating this effect, and learnt a lot in the process.


First I drew a very rough outline in eye liner, to help guide where the scarwax should go.


You can scrape up the scarwax with a tiny little spade if you want!


I tried to get as clean a line as possible. Scarwax is tricky as it melts on your fingers almost instantly and whatever you apply will try and attach itself back on to your fingers.


Next I applied a couple of layers of latex. Again, not an easy substance to use as it doesn't sit smoothly on the skin and sometimes peels at the edges. I had quite a bit of difficulty with this and ended up having to patch it up with more scarwax and latex. Perhaps scarwax is better in smaller quantities.


After some loose powder, I started on the makeup. The makeup was really the fun part, although I was mainly trying to disguise the latex as much as possible


Next time I think I will actually use black more sparingly, to have more emphasis on where the cut meets the mouth, to create more of an "open" look. 

As always, a little fake blood helps.


Only costs £1.99 


Was worth it just to peel off the latex at the end. Very satisfying as long as it's not caught in your hairs.


Sunday, 1 June 2014

Wax wound (hand)

In comparison with latex, I found wax to be much quicker and more realistic for small cuts. There are some drawbacks - wax can be smudged and peels (although i believe using a layer of latex round the edges helps with this), and it can't be reused.

I started off by scraping up some wax (snazaroo) and rolling little pieces into sausage shapes. I then pressed it at one side and smoothed away from the middle of the wound.

It melted into my skin quickly and I found you can't rub it away successfully, instead you have to add more or slowly mold it. In fact I made a mess of it the first time I tried and had to clean off and start again.

During the first attempt I rubbed the wax outwards too for so it melted and got caught up in my hairs:


The second time things went a little smoother:


I tried to be more precise and get a cleaner line.


Next, I darkened the cut with black shadow, as suggested in a youtube video I saw, although I think black liquid liner or black stage paint works better as I ended up having to go back in with that later.

I also used a variety of shadows including brown, purple and yellow around the wound to suggest bruising and tenderness.


Then for the gory bit, I added a little fake blood inside the cut, as well as darkening it with black, green and a hint of yellow Kryolan grease paint. I stipple just a little green and yellow on the outside too to make it look a little infected.


If you feel you haven't been grossed out enough by this, here's a couple of blurry photos of me pinching the cut together and opening it out: